
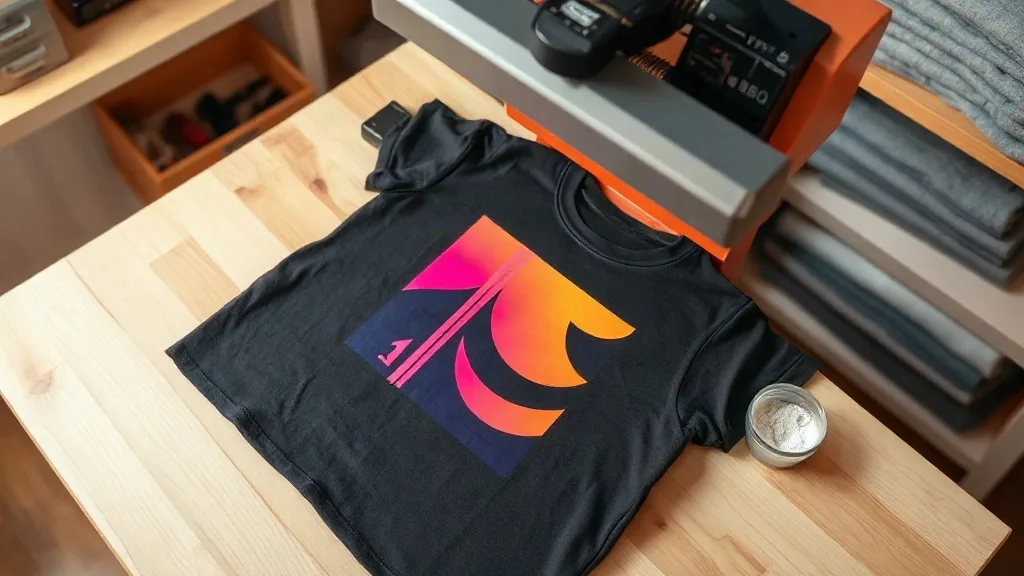
Walk into any weekend market or scroll through a print-on-demand storefront and you will notice something: the colors are getting bolder, the gradients smoother, and the designs more complex. A lot of that shift comes down to dtf transfers, a printing method that has quietly reshaped how small apparel businesses approach custom work. If you run a print shop, sell shirts on the side, or just want to put your own artwork on a hoodie without buying a screen press, this guide walks through what the process is, where it fits, and how to get a clean result the first time.
What a DTF Transfer Actually Is
DTF stands for direct-to-film, and the name describes the workflow pretty accurately. Instead of printing ink straight onto a garment, a printer lays your design onto a special film in reverse. While the ink is still wet, a fine layer of adhesive powder is sprinkled over it, then the film passes through a curing stage that melts the powder into the ink. What you end up with is a flexible, rubbery transfer sheet that can be stored, shipped, and pressed onto fabric whenever you need it.
That intermediate film step is the key difference from direct-to-garment printing, where a printer sits on top of the shirt and sprays ink directly into the fibers. With dtf, the printing and the pressing are two separate events. You can print a batch of designs on Monday, store them in a flat drawer, and press them onto shirts on Friday as orders come in. For anyone tired of guessing how many sizes to print ahead of time, that separation is a genuine operational advantage.
Why the Adhesive Powder Matters
The powder is not a minor detail. It is what bonds the ink layer to the fabric during heat pressing, and it is the reason a properly applied transfer survives dozens of washes. Skipping or under-curing the powder stage produces transfers that look fine on day one and start peeling at the corners after a few cycles. Reputable suppliers cure at controlled temperatures and store finished sheets in dry conditions, so if you are buying pre-made transfers, ask about their curing and storage practices before placing a large order.
Where DTF Transfers Outperform Other Methods
Every decoration method has a sweet spot, and DTF covers more of them than most. Here is where it tends to win.
- Cotton and cotton blends: This is the big one. DTF adheres well to 100% cotton, which is where many DTG inks struggle to hold saturation. It also handles 50/50 blends and poly-cotton tees without the dye-migration issues that plague some heat transfer vinyl applications on synthetic fabrics.
- Full-color artwork with gradients and fine detail: Photographs, watercolor illustrations, and designs with dozens of colors all print in one pass. No color separations, no minimum order per color.
- Low-volume and one-off orders: There is no screen setup and no plate charge. A single shirt costs the same per unit as the hundredth.
- Hard-to-print areas: Sleeves, pockets, and the inside of a collar are all fair game because you are pressing a flat sheet, not maneuvering a printer around a garment.
Where does it fall short? On stretchy performance fabrics and heavy nylon, the transfer can feel stiff or fail to bond properly. Very dark garments with thin, light-colored line work can also show a faint halo if the white ink layer is too thin. Knowing these limits before you quote a job saves a lot of awkward conversations with customers.
A Step-by-Step Look at the Application Process
Applying a transfer is not complicated, but the details decide whether the print lasts a season or a year. Here is the sequence that works reliably in a small shop setting.
- Pre-press the garment. Ten to fifteen seconds of pressure removes moisture and wrinkles. A damp shirt traps steam under the transfer and causes adhesion failures.
- Position and secure. Place the film with the printed side down and the adhesive side against the fabric. Use heat-resistant tape on larger designs so nothing shifts mid-press.
- Press at the right temperature. Most films call for 150 to 160 degrees Celsius with medium to firm pressure. Follow the supplier's spec sheet rather than guessing.
- Peel at the correct temperature. Some films are hot-peel, others need to cool for a few seconds. Peeling too early on a cold-peel film pulls the ink layer apart.
- Post-press for durability. A second short press with a cover sheet or parchment sets the adhesive fully. This step is often skipped and it is the cheapest insurance you can buy.
If you are sourcing ready-made sheets rather than printing in-house, searching for dtf transfers near me is a reasonable starting point, but check turnaround times and whether the shop offers gang sheets. A gang sheet lets you combine several small designs onto one film, which cuts waste and cost on mixed orders.
Costing It Out for a Small Operation
Numbers vary by region and supplier, so treat these as a framework rather than a price list. A typical A3 gang sheet holds several small to medium designs, and the per-print cost drops sharply as you fill the sheet more efficiently. On a per-shirt basis, the transfer itself is often the smallest line item; the blank garment and your labor usually dominate. That is why the real savings come from batching: print a full sheet of mixed designs, press them across a week of orders, and you avoid both rush shipping and idle press time.
One practical tip from shops that have been at this a while: keep a simple log of press temperature, time, and peel method for each film brand you use. After a few months you will have your own reference sheet, and new employees can reproduce your results without a lengthy handover.
Storage and Shelf Life
Transfers stored flat, away from heat and humidity, generally stay usable for months. Bending or creasing a sheet can crack the cured ink, and those cracks show up as thin lines on the finished print. A cheap flat file or even a clean pizza box works fine for small volumes. Avoid stacking heavy items on top of loose sheets.
Matching the Method to the Job
DTF is not a universal replacement for embroidery or screen printing, and treating it that way leads to disappointment. Screen printing still wins on very large runs of one or two colors, where the per-unit cost drops below anything a film can offer. Embroidery remains the right choice for logos that need texture and a premium feel, especially on polos and caps. The useful question is not which method is best in the abstract, but which one fits the quantity, fabric, and deadline in front of you. Many small shops now run all three and route each job accordingly.
Frequently Asked Questions
Can DTF transfers go on 100% polyester shirts?
They can, though results are less predictable than on cotton. Lower the press temperature slightly and use a cover sheet to protect the surface. On very smooth, coated performance fabrics, test a scrap piece first because adhesion can fail outright.
How many washes should a DTF print survive?
A properly applied transfer on cotton typically holds up through dozens of wash cycles when the garment is turned inside out and washed cold. Peeling usually traces back to insufficient pressure, incorrect temperature, or skipping the post-press step.
Do I need a special press to apply transfers?
A heat press is strongly recommended. Home irons can work in a pinch for a single shirt, but they apply uneven pressure and make it hard to hold a consistent temperature, which is exactly where durability problems start.
What is a gang sheet and why does it matter?
A gang sheet is a single film with multiple designs arranged to fill the space efficiently. Since you pay per sheet rather than per design, packing it well is the fastest way to lower your cost per print on small and mixed orders.
Can I print white ink on dark shirts?
Yes, and that is one of the method's strengths. The film carries a white ink base layer under the color, so designs stay vivid on black and navy garments. Thin line work may need a slightly thicker white layer to avoid a faint outline.